A great paint job doesn’t start with the color – it starts with what you do before a single drop gets on the wall. Proper preparation is what separates the paint that looks great for many years from the paint that chips off by the next season. In this article we will talk about what prep truly is, what tools can make it easier, where DIYers tend to “fall down” while prepping, and how the right prep steps greatly increase paint durability.
What Is Surface Preparation in Painting?
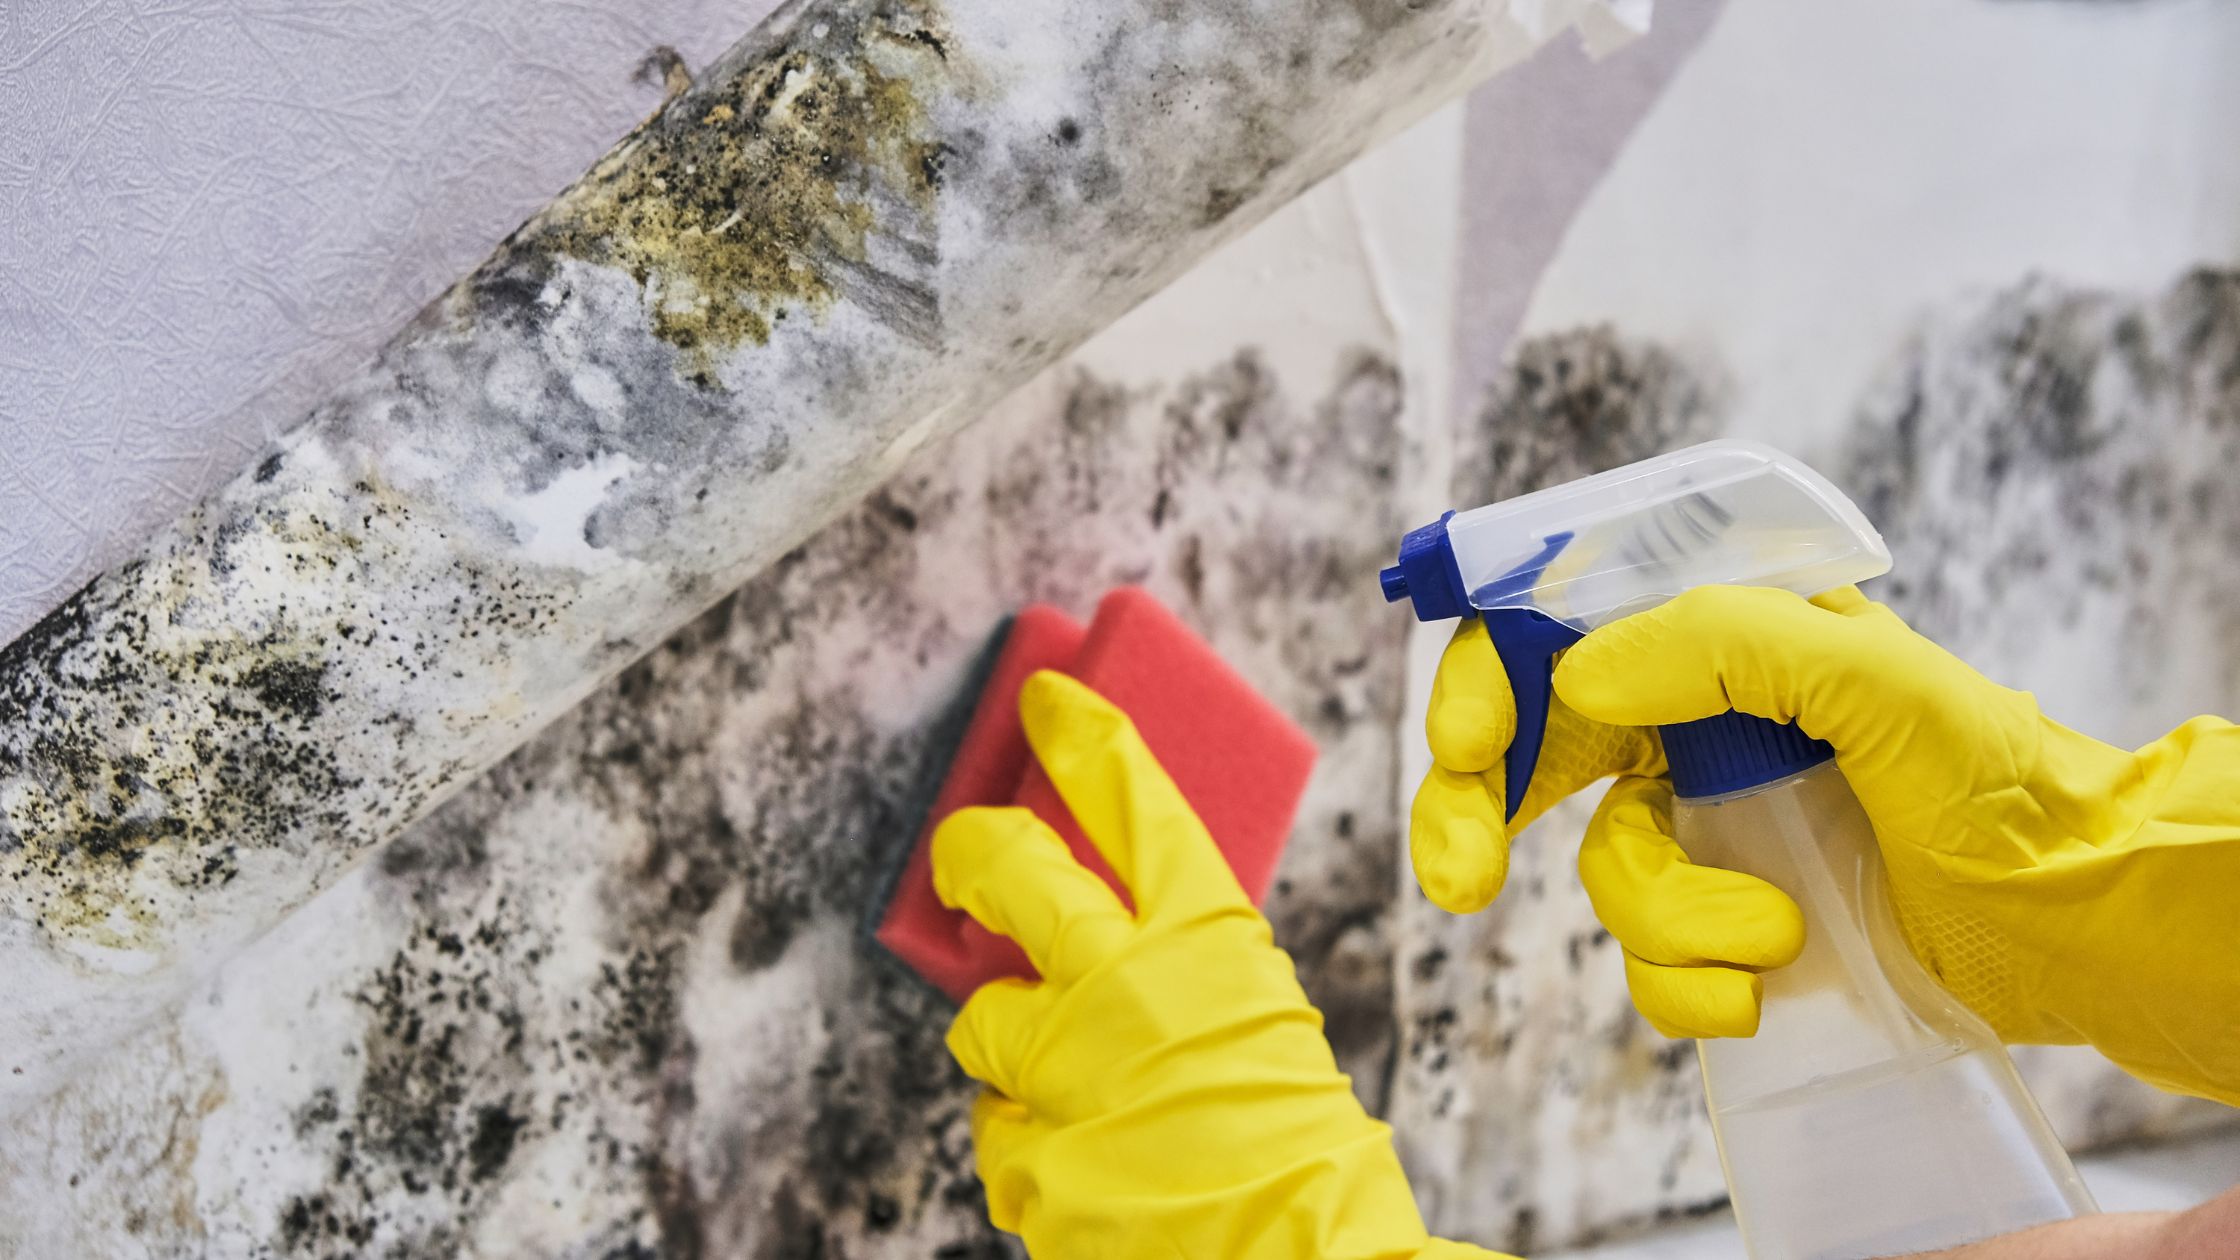
Surface preparation covers a series of steps taken to make a substrate clean, sound, and primed for coatings. You remove contaminants (like dust, grease, mildew), repair defects (like cracks, nail pops, and rotten wood), and create a profile for paint to adhere to. For interior painting, a proper prep may include washing the kitchen walls, repairing dings, sanding the trim, and sealing stains. For exterior painting, a proper prep often includes pressure washing, scraping loose paint, assessing caulk failures, and waiting for proper dry times.
Prep also includes your evaluation and plan. You assess moisture issues, assess glossy surface and areas needing deglossing, and choose the right primer that is compatible with the substrate being painted, whether it is drywall, wood, metal, or masonry. The goal is simple – we want to give your coating the very best surface possible so the coatings bond tightly and cure as designed. You can check this site for more preparations tips.
Tools Painters Use for Prep Work
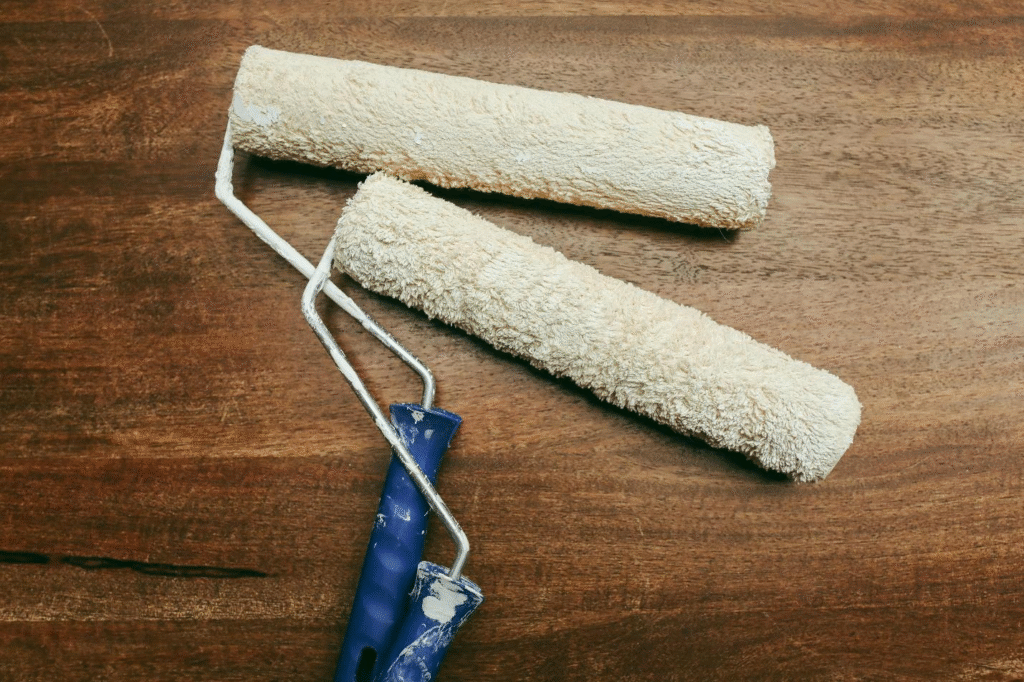
Properly preparing a surface for painting is easier, and safer, when you have the right tools. The right tools can limit hours of prep and a lot of re-dos. Before embarking on your painting project, it is a good idea to gather your materials in one place. Whatever your process looks like, plan ahead and stay organized. When you begin preparing your space, the less you move dust around while you work the better. You can do 2 or 3 of these prep sections, paired with a good plan, allows you to have success with a smooth professional looking finish. For more details, visit https://www.realsimple.com/home-organizing/home-improvement/painting/best-painting-tools.
You’ll need:
- Scrapers and putty knives to remove loose paint and spread filler.
- Sanding blocks and orbital sander to level the patches and scuff any gloss finish.
- HEPA vac and microfiber cloths to hold fine dust prior to coating.
- Cleaners/degreasers and mildew removers to flush out any contaminants that could ruin your paint adhesion.
- Caulk, wood filler and two-part epoxy repair kits to fill in gaps, checks, and rots.
- Masking paper, tape, and plastic sheeting to protect your floors from all of the prep and from the paint.
- Moisture meter and deglosser for tricky substrates and anything shiny like trim.
- Quality brushes/mini rollers for concentrated primer application relating to patches and bare areas.
Mistakes to Avoid Before You Start Painting
One of the common mistakes is going straight to colour. When you paint over dust, grease or chalky siding, you have essentially trapped a weak layer below your coating that may lead to peeling, flashing, or uneven sight. Another common mistake is not priming over patched drywall or bare wood surfaces, the topcoat will soak in uncontrollably and finish may be splotchy or uneven.
Other niggly errors contain not only sanding just the patch, feathering into surrounding (you will have a halo effect), do not caulk over damp gaps (you will loosen the bead), don’t caulk on soft wood (moisture will push the bead loose). And resist the urge to just spot clean the obvious spots. An entire wall wash takes minutes and removes adhesion issues you can’t fix afterwards. If you aren’t sure what materials to use, a local professional such as painter Chatham specialists can help you match the product to the surface and climate. If you plan any wood staining along with paint, you’ll want to take the time to make repairs and complete sanding before applying a finish to ensure equal absorption without telegraphing flaw.
How Prep Impacts Durability
Prep isn’t only about what looks good – it’s about what lasts. When coatings can bond to clean, properly profiled substrate, they last longer, which means fewer coats of paint and less lifetime costs overall. Good preparation also keeps moisture out of the building envelope so that your dish, siding, and drywall does not get damaged.
- Good paint to surface adhesion means less separating, especially in high traffic areas like doors and baseboards.
- Correct primer application blocks stain evens out porosity and helps topcoats get to full hardness.
- Sealed gaps and sound repairs allow less water intrusion and less UV damage on exteriors.
- Smooth, sanded surfaces gives you an even sheen so your finish looks richer and even.
- Proper drying times between prep steps prevents early failure and keeps the integrity of manufacturers warranties.
Why Professionals Do It Differently
It is good to follow a system to produce consistently good results. Pros have a predictable repeatable system built around inspection for moisture, movement, residues, or failures of previous coatings along with targeted approaches for each issue. For example, glossy trim gets de-glossed or sanded-off, water stains get sealed with a primer, hairline cracks are filled using elastomeric caulk & spackle combo rather than epoxy-only. Schedule matters too; they consider weather windows for exteriors to ensure dry substrates before starting work to avoid trapping moisture.
Professionals also use better materials. Contractor-grade tape releases clean every time. High-solids primer builds a stronger foundation. Dust-extracting sanders leave the surface clean, your lungs healthy, and the job offers an even finish. Finally, they keep good notes of the process so that future touch-ups are predictable and the color will match every time. If you would rather avoid the time of trial-and-error, Chatham Pro Painters can assess your surfaces, recommend the appropriate preparation work, and do both interior and exterior work to a durable standard.
Conclusion
Bottom line is if you take preparation seriously, you’ll get a finish that looks great and stands up to everyday existence. With a plan, the right tools, and consideration for thorough cleaning, good repairs, and purposeful priming, your next project; exterior painting, or speedy room refreshes will become easier and last longer every time.


